

Author: Methena / Release Time: 2026-02-03 / Pageviews:
Ice makers are among the most frequently used and core pieces of equipment in restaurants, hotels, bars, supermarkets, and food processing plants. Whether for beverage preparation, food preservation, or cold chain processing, the quality of the ice directly affects the taste and safety of the final product. However, many users often focus more on output and ice-making speed, neglecting a crucial issue—the cleaning and maintenance of the ice maker.
If an ice maker is not cleaned regularly, scale, ice deposits, bacteria, and mold will accumulate inside, affecting not only the hygiene and safety of the ice but also reducing ice-making efficiency and shortening the machine's lifespan.
This article will guide you step-by-step through eight professional steps to thoroughly clean your ice maker like an expert.
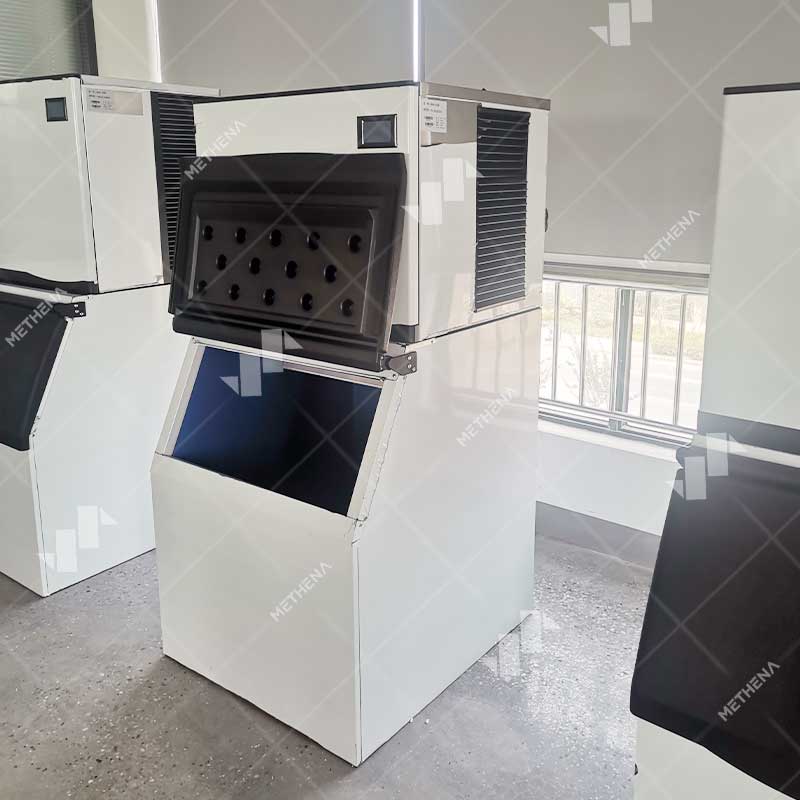
The working environment of an ice maker is characterized by "high humidity + water circulation," making it a high-risk area for scale and microbial growth.
Hygiene and Taste: Ice has a strong ability to absorb odors. If mold grows in the ice storage tank, the ice will not only have an earthy taste but also carry germs.
Operating Efficiency: Scale buildup on the evaporator hinders heat exchange, leading to longer ice-making cycles and a surge in power consumption.
Equipment Lifespan: Pumps and valves corroded by scale over time are more prone to damage; regular maintenance costs are far lower than expensive parts replacements.
These problems not only cause ice to have an unpleasant odor, become cloudy, or taste worse, but may also pose food safety risks. Regular cleaning effectively reduces equipment failure rates and lowers maintenance and downtime costs, making it a highly cost-effective maintenance investment in the long run.
Adequate preparation before starting cleaning can significantly improve efficiency and reduce operational risks.
Tools: Nylon soft brush (to protect the evaporator coating), long-handled brush, microfiber cloth.
Protection: Rubber gloves and safety goggles to protect yourself from chemical splashes.
Checks: Check if the water supply pressure is normal and if there are any signs of blockage in the drain pipe.
Safety is always the first priority! All cleaning work should prioritize safety. Before cleaning the ice maker, always disconnect the power supply to ensure the equipment is completely stopped. For large commercial ice makers, it is recommended to wait a few minutes for the internal components to completely stop working and return to room temperature.
For large split-type ice makers, ensure the compressor has completely stopped cooling.
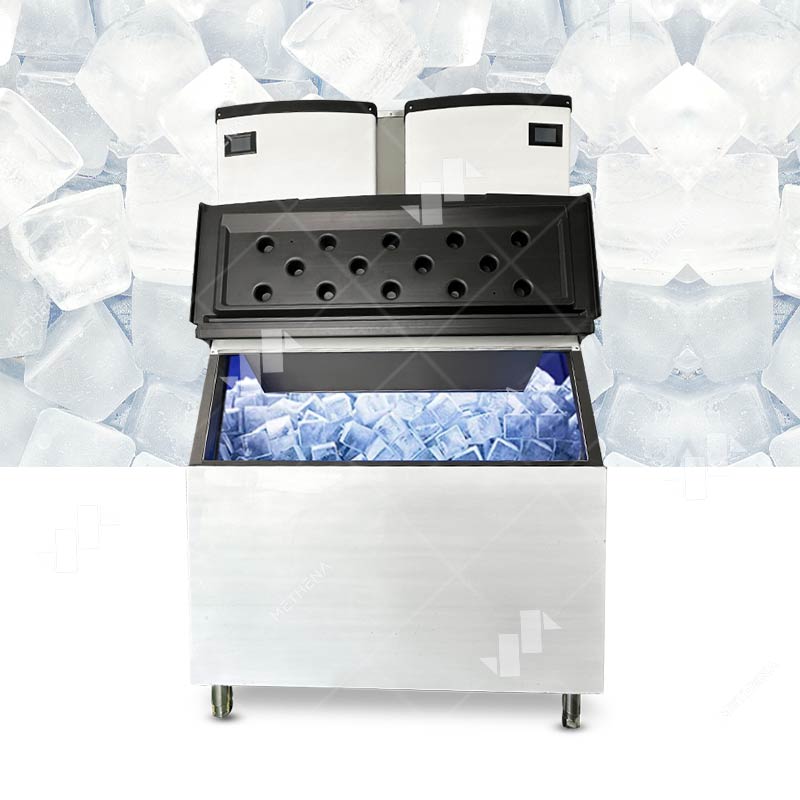
Before starting cleaning, empty all old ice from the ice storage compartment. This ice has been exposed to a potentially contaminated environment and should not be used. Draining any remaining water helps prevent backflow of wastewater or blockage of the drainage system during cleaning.
Note: If drainage is too slow, the drain pipe may be clogged; use a thin flexible hose to unclog it. This step prevents wastewater from contaminating new ice and prepares the ground for subsequent cleaning.
This is the "soul" of the entire process. The core of the ice maker lies in the evaporator, water pump, and distribution pipes.
Evaporator: This is where ice making occurs. Use a soft brush dipped in diluted descaling agent to scrub along the direction of the grille. If the scale buildup is severe, you may need to let the cleaner circulate for 20 minutes.
Water Distributor: Remove the water distributor and check if the outlet holes are clogged with minerals. Clean with a needle or fine brush to ensure even water distribution.
Condenser: Although it doesn't directly contact water, a dusty condenser can cause poor heat dissipation. It's recommended to clean its fins with compressed air or a vacuum cleaner.
External Body and Filtration System: The "exterior work" is equally important.
Outer Casing and Control Panel: Wipe with mild soapy water. Be careful not to let water seep into the crevices of the control panel.
Air Filter: Many ice makers experience performance degradation because their filters become clogged with grease or dust. Remove the filter, rinse it in warm water, and let it air dry. This is crucial for ensuring the machine "breathes smoothly."
First Ice Processing: After restarting, observe whether the ice-making cycle is normal and listen for any unusual noises. Industry Secret: The first two batches of ice after cleaning must be discarded. They may contain trace amounts of chemical residue. From the third batch onwards, you'll find the ice becomes crystal clear and harder.
Regular cleaning of the ice machine not only ensures the hygiene and safety of the ice but also significantly improves equipment efficiency and extends its lifespan. By following these eight steps, you can establish a clear and executable cleaning process applicable to various scenarios such as catering, hotels, and food processing.
If you are looking for a more easily cleanable and structurally sound professional ice machine, or if you wish to obtain customized maintenance and cleaning solutions, please learn more about our ice machine products and related services. Professional equipment combined with scientific maintenance ensures the long-term stable operation of your ice-making system.


